
 İkizderi
 Types of nails are surprisingly varied, changing with the job and the material being fastened. Choosing the right nail directly affects both the strength and the look of the work; the wrong nail can split the wood, weaken the joint, or rust over time and leave stains. In this guide we introduce the most-used types of nails one by one — by head type, shank structure, material and use. By the end, you will know exactly which nail to choose for which job.
What Is a Nail Made Of and What Parts Does It Have?
A nail is basically made of three parts — head, shank and point — and is mostly made from steel wire, with a galvanized, copper or stainless-steel coating depending on use. The shape of these three parts determines what job the nail suits.
The head determines how visible the nail will be on the surface and its holding power. A wide head holds more strongly but shows more; a slim head can be hidden but grips less surface. The shank can be smooth, ringed or screwed, which affects grip. The point determines how easily the nail enters the material and whether it splits the wood. So when choosing a nail, you should look not only at length but also at the structure of these three parts.
Types of Nails by Head
By head type, nails are divided into flat-head, lost-head (finishing), wide-head and headless nails. The shape of the head determines whether the nail is visible and how tightly it holds.
- Flat-head nail: The most common type; its wide head holds strongly but shows on the surface. Ideal for rough construction and general woodwork.
- Lost-head (finishing) nail: Has a slim, small head that can be sunk into the wood, so it is almost invisible on the surface. Used in furniture and fine woodwork.
- Wide-head nail: With a very wide head, it holds soft, thin materials (cardboard, sheathing) without tearing them.
- Headless nail: Has almost no head; preferred in delicate work where the nail must not be seen.
The head choice directly affects the look of the work. A flat-head nail is enough for rough work where visibility does not matter, while a lost-head or headless nail gives a cleaner result in fine work like furniture.
Types of Nails by Shank
By shank structure, nails are divided into smooth, ring (annular) and screw shanks. The rougher and more grooved the shank, the more tightly the nail grips the material.
- Smooth shank: The most common type; easy to drive but with medium holding power. Suitable for general work.
- Ring (annular) shank: Has ring-shaped grooves along the shank; these grooves grip far more tightly and make the nail hard to pull out. Preferred in flooring and vibration-prone work.
- Screw shank: The shank is twisted like a screw; it turns as it is driven and gives the highest holding power. Used in heavy-load joints.
In a joint under vibration and load, a smooth nail can loosen over time; so in flooring, formwork and exterior work, a ring or screw shank is safer.
Types of Nails by Material and Coating
Nails are also divided by material and coating: steel, galvanized (zinc-coated), stainless-steel and copper are the most common. The coating determines the nail’s resistance to rust.
| Nail Type | Feature | Use |
|---|---|---|
| Steel (uncoated) | Cheap, but rusts | Indoor, dry work |
| Galvanized nail | Zinc-coated, resists rust | Outdoor, damp environment |
| Stainless steel | Most durable, never rusts | Exterior, seaside |
| Copper nail | Rust-free, decorative | Roofing, copper cladding |
A nail used in damp or open air must be galvanized or stainless; otherwise a steel nail rusts quickly and leaves brown stains on the wood.
The Most Common Nail Types by Use
By use, the best-known nails are construction nails, roofing nails, furniture nails, panel nails and decorative nails. Each is designed for a specific job.
- Construction nail: Thick and strong; used in rough building, formwork and scaffolding.
- Roofing nail: Wide-headed and galvanized; fixes roof coverings and resists water.
- Furniture nail: Thin with a sunk head; fixes wooden furniture without leaving marks.
- Panel nail: Small with a thin shank; used in cladding and panel work.
- Decorative nail: Has an ornamental head; used visibly in upholstery and decoration.
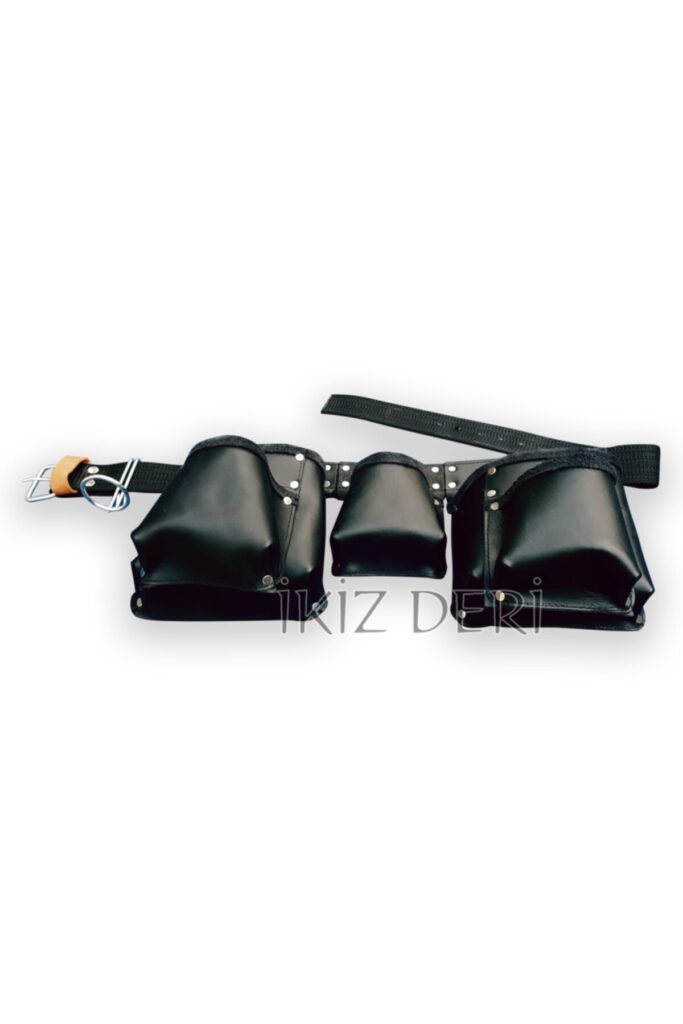
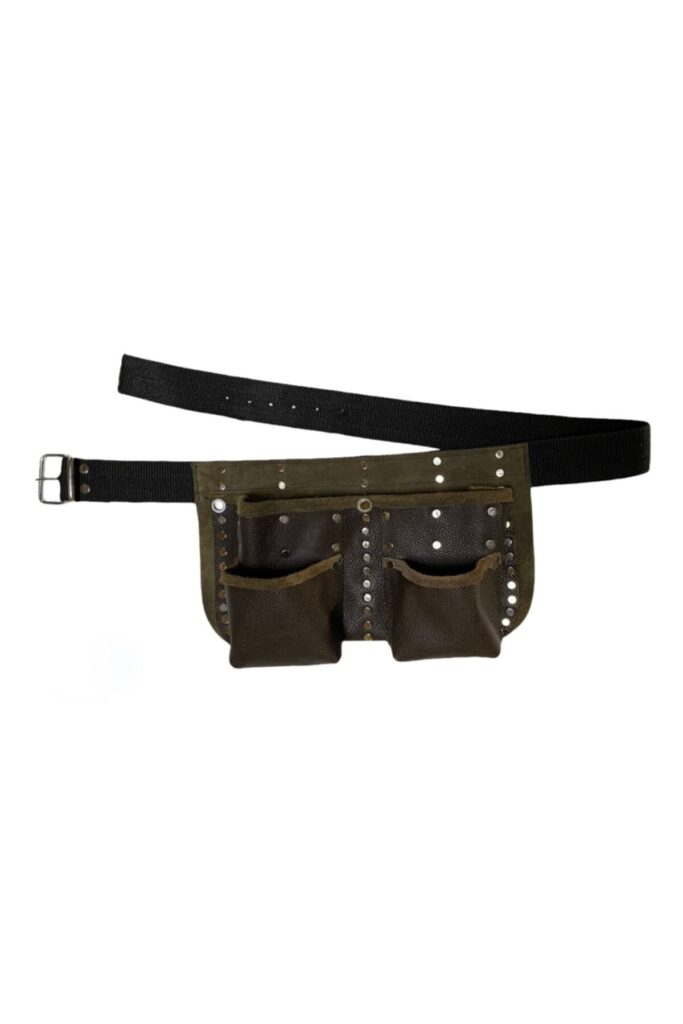
A carpenter or construction worker uses several different types of these nails together during the day. So carrying nails of different lengths and types in order speeds up the workflow. You can find the most practical way to keep your nails organized at the waist among our leather nail apron models.
How Do You Choose Nail Length?
Nail length is chosen to be about three times the thickness of the material being fastened. That way most of the nail enters the base material underneath and forms a strong joint.
For example, if you are fixing a 2 cm thick board, a nail about 5-6 cm long is ideal. Too short a nail does not hold and the joint loosens over time; too long a nail can come out of the base material or split the wood. The right length matters for both strength and safety. We explain how to carry nail boxes and different lengths in order in our how to organize a nail apron guide.
What Is the Difference Between Galvanized and Stainless Nails?
A galvanized nail is protected by a zinc coating and lasts for years outdoors; a stainless-steel nail never rusts because of its material and withstands the toughest conditions. Stainless nails cost more but last the longest.
The galvanized coating protects the nail against moisture and rust; but if the coating is scratched or worn, the steel underneath can rust over time. In a stainless-steel nail, the protection is not on the surface but in the material itself, so it does not rust even when scratched. In the toughest environments — seaside, constantly wet surfaces and exteriors — stainless nails are preferred. For normal outdoor work, galvanized nails are usually enough.
Nails or Screws: Which to Use?
Nails are preferred for fast, flexible joints, and screws for removable joints that need high holding power. Driving a nail is fast and flexible against vibration; a screw holds more tightly and can be removed when needed.
In fast-moving work like rough construction, formwork and roofing, nails are more practical. In work where removability or high holding matters — furniture assembly and drywall — screws come to the fore. Both change place often on the same craftsman’s waist, so an apron that carries both nails and screws in order makes work life easier.
What Does Nail Thickness (Gauge) Determine?
Nail thickness determines the nail’s holding power and the risk of splitting the wood. A thick nail holds more strongly but can split thin wood; a thin nail fastens without splitting in delicate work but carries less load.
Two nails of the same length can be different thicknesses. In a load-bearing joint a thick nail is preferred, while in fine, valuable woodwork a thin nail is safer. Thickness, like length, is chosen according to the type of work and the hardness of the wood. The right thickness gives both a strong and a clean joint; the wrong thickness either weakens the joint or splits the wood.
How Do You Drive a Nail Properly?
A nail is first set in place with light, controlled taps, then driven home with a few strong, straight blows. Holding the hammer near the end of the handle gives both a stronger and a more controlled blow.
Holding the nail upright with your fingers and setting it with a few light taps prevents the nail from bending. Once the nail stands on its own, the fingers are withdrawn and it is driven with straight, steady blows. It matters that the blow hits the nail exactly square; a blow at an angle bends the nail. Experienced craftsmen drive most nails in two or three blows; the secret is not force but the right angle and rhythm. In work with many nails, having them within reach at the waist keeps this rhythm unbroken.
Why Does Wood Split When Driving a Nail?
Wood splits when driving a nail because the nail’s point forces the wood fibers apart; the risk is higher in hard, dry wood or with nails driven near the edge of the board. With the right technique, this splitting can largely be prevented.
There are a few ways to prevent splitting: drive the nail far enough in from the edge, drill a thin pilot hole in hard wood beforehand, and slightly blunt the nail’s point. A blunt point pushes the fibers apart rather than cutting them, reducing splitting. These small techniques give a clean result, especially in fine, valuable woodwork.
How Do You Remove a Nail?
A driven nail is removed with a claw hammer or a nail-pulling pincer. Placing a small block under the hammer while pulling makes the nail come out more easily and protects the wood surface from damage.
The fork on the back of the hammer is fitted over the nail head and the nail is slowly pulled out using leverage. For nails whose head is sunk or broken off, a special nail-pulling pincer is used. Pulling gradually rather than with a sharp movement prevents both the nail bending and the wood splitting. A wrongly pulled nail can leave deep marks on the surface.
Nail Gun or Hammer?
A nail gun is preferred where many nails are driven quickly, and a hammer where precise, few nails are needed. A nail gun brings speed; a hammer brings control and precision.
In work where hundreds of nails are driven — formwork, flooring and roofing — a nail gun saves a lot of time. But in furniture and fine woodwork, where the position and depth of each nail must be controlled, a hammer is still indispensable. A craftsman usually uses both: the gun for rough, fast work, the hammer for fine work. In both cases, keeping nails organized at the waist speeds up the workflow.
What Are the Most Common Mistakes When Choosing a Nail?
The most common mistakes are choosing the wrong length, using an uncoated steel nail in a damp environment, and driving a nail into hard wood without a pilot hole. These mistakes both weaken the joint and damage the material.
- Wrong length: Too short a nail does not hold; too long comes out or splits.
- Wrong coating: Using a steel nail outdoors means rust and stains soon.
- No pilot hole: Driving a nail straight into hard, dry wood causes splitting.
- Too close to the edge: A nail near the board edge can split the wood along its length.
- Wrong head: Using a wide-head nail in fine furniture work spoils the look.
Most of these mistakes are prevented by choosing the right nail and applying a simple technique. An experienced craftsman decides which nail to use based on the material and the environment before starting.
Which Nail for Which Job? A Quick Guide
To choose the right nail, it is enough to think about the type of work and the environment. The short guide below shows the right nail for the most common jobs.
- Rough construction and formwork: Thick, flat-head construction nail.
- Outdoor and damp environment: Galvanized or stainless-steel nail.
- Furniture and fine wood: Sunk-head, thin furniture nail.
- Roof covering: Wide-head, galvanized roofing nail.
- Vibration and load-bearing joint: Ring or screw shank nail.
This guide helps you find the right nail for most jobs. When you are unsure, the thickness of the material and the moisture of the environment are the two most decisive factors.
How Do Professionals Organize Their Nails?
Professionals organize different lengths and types of nails by keeping them in separate pockets at the waist. That way they reach the right nail in a single movement, without looking, and keep the work rhythm unbroken.
A carpenter or construction worker uses several different nails during the day: thick for rough work, sunk-head for fine work. Keeping them in one mixed box leads to constant searching. This is why experienced craftsmen keep their most-used nails in a nail pocket at the waist and their spares in separate boxes. This order greatly increases the time saved over the day and keeps the rhythm of the work.
If you also wonder about screw selection, our types of screws and sizes guide explains which screw to choose for which job.
If you also want to choose the right hammer for driving nails, see our types of hammers and their uses guide.
If you also want to use your measuring tool correctly, see our how to read a tape measure guide.
No job moves without drilling; our types of drill bits guide explains which bit to use for which material.
Conclusion: Why Choosing the Right Nail Matters
Choosing the right type of nail directly determines a job’s strength, look and lifespan. Head type, shank structure, material and length together reveal which job a nail suits. The wrong nail can waste even the best workmanship.
If you want to carry different types of nails organized and within reach all day, you can review the leather nail apron models and all İkizderi leather work equipment we make entirely from genuine leather in our workshop in Gerede, Bolu.