
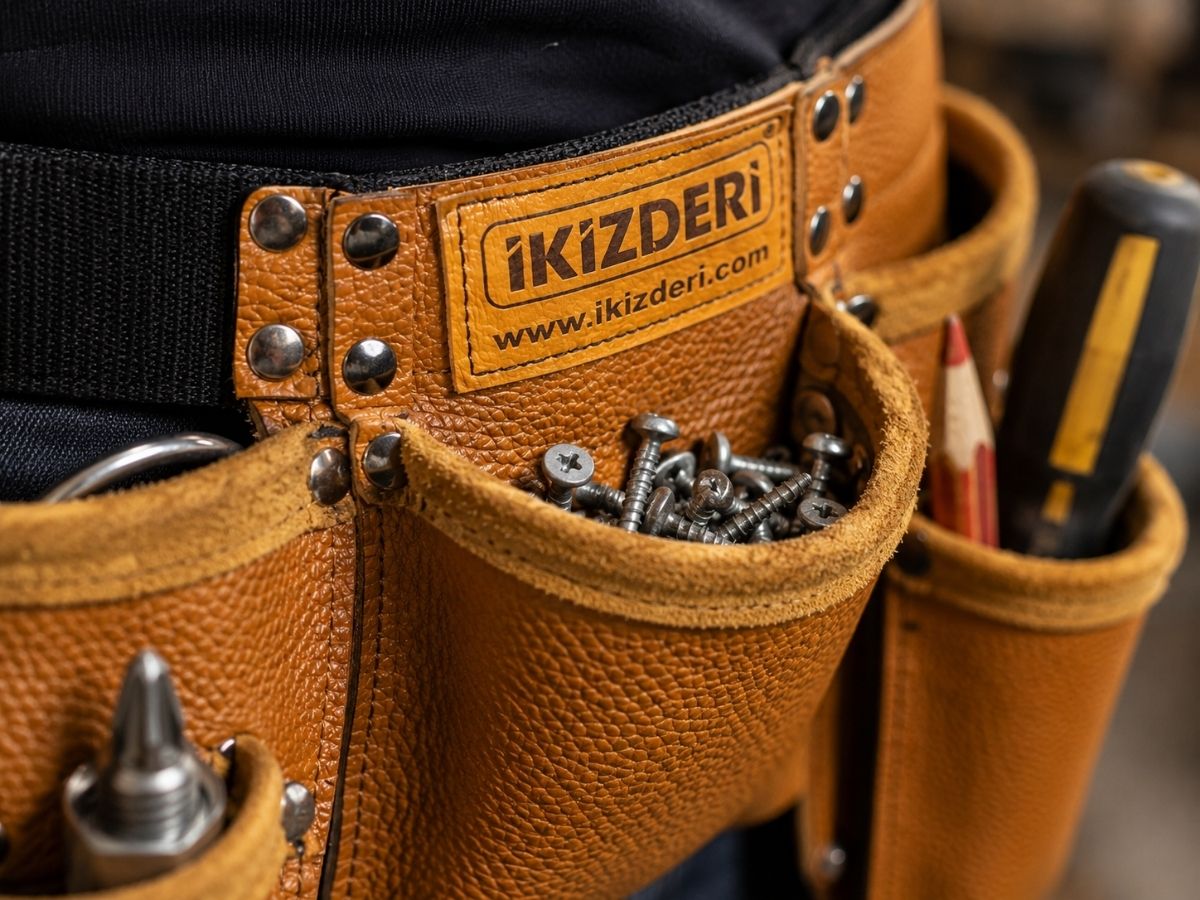
 İkizderi
 How to read a tape measure may look simple at first, but it is the foundation of taking an accurate measurement. A single misread millimeter can ruin a board you cut, a cabinet you assemble or a floor you lay. This is exactly why craftsmen say “measure twice, cut once.” In this guide we explain the numbers, lines and marks on a tape measure step by step — how to read centimeters and millimeters, take inside and outside measurements, understand the special marks and use the correct measuring technique. By the end, you will read a tape measure flawlessly, like a professional.
What Do the Numbers on a Tape Measure Mean?
The large numbers on a tape measure show centimeters (cm), and the small lines between the centimeters show millimeters (mm). In the metric system, 1 centimeter equals 10 millimeters, and 100 centimeters equals 1 meter.
As you move along the tape, the numbers increase 1, 2, 3; these are centimeters. Every 10 centimeters the number often grows slightly or changes color on most tapes; every 100 centimeters (1 meter) there is usually a special mark. On some tapes the meter value is also shown in a small box or a different color, so you do not lose track of which meter you are on during long measurements. For example, the point marked “150” is 150 centimeters, that is 1 meter 50 centimeters. The first step to reading correctly is telling which unit is the centimeter and which is the millimeter.
How Do You Read the Millimeter Lines?
The space between two centimeter numbers is divided into 10 equal parts, and each small line shows 1 millimeter. The slightly longer line in the middle marks half a centimeter, that is 5 millimeters.
Counting a centimeter from left to right, the first small line is 1 mm, the second is 2 mm, and so on. The fifth line is usually a little longer than the others; this is 5 millimeters, or half a centimeter, and makes quick reading easier. The tenth line coincides with the next centimeter number. So to read millimeters, you just find the nearest centimeter and then count how many small lines you have passed.
How Do You Read Centimeters and Millimeters Together?
To read a measurement fully, you take the last centimeter number passed, then count the millimeter lines after that centimeter, and combine the two. For example, if you have passed 4 small lines after the 7th centimeter, the measurement is 7.4 centimeters, that is 74 millimeters.
Let’s clarify with an example: if the point you measured has passed the number “12” and moved 6 small lines after it, the measurement is 12 centimeters 6 millimeters, that is 12.6 cm or 126 mm. Craftsmen often say the measurement in millimeters (“126”), because millimeters are more precise and reduce the margin of error when cutting. Once you get used to reading centimeters and millimeters together, taking a measurement takes seconds.
What Do the Special Marks and Colored Numbers Mean?
Some tape measures have colored (usually red) numbers or special marks at certain intervals; these mostly show standard framing intervals. For example, every 16 inches, or every 60 centimeters on some tapes, marks the standard spacing of wood studs and drywall framing.
These marks let you work quickly on repetitive assembly jobs without calculating the measurement each time. For parts placed at set intervals — drywall studs, wood framing or shelf supports — these colored numbers are a great convenience. If your tape has such marks, learning what interval they show from its guide speeds up your work. For someone who does not know their meaning, however, they are only confusing.
Is the Moving Hook at the End of the Tape Broken?
The few millimeters of play in the metal hook at the end of a tape measure is not a fault but a deliberate design. This gap compensates for the thickness of the hook, so it gives the correct result in both inside and outside measurements.
When you take an outside measurement (measuring the outside of a part), you catch the hook on the edge; the hook slides outward and accounts for its own thickness. When you take an inside measurement (measuring inside a gap), you push the hook from the inside; this time the hook slides inward and again gives the correct result. So that moving hook shifts by exactly the thickness of its metal and keeps the measurement accurate. Gluing or fixing the hook ruins the measurement; that gap is there on purpose.
How Do You Take Inside and Outside Measurements?
An outside measurement is taken by catching the hook on one edge of the part and reading to the other edge. An inside measurement is taken by placing the tape inside a gap and reading the distance between the two inner faces; on most tape measures the length of the case is added to this reading.
For an outside measurement, catching the hook firmly on the edge is enough. In an inside measurement, the case of the tape also becomes part of the distance; that is why the case of many quality tapes has the “case length” (for example 8 cm) printed on it. When you take an inside measurement, you must add this case length to the value you read. For example, if you read 92 cm on the tape and the case is 8 cm, the real inside measurement is 100 centimeters. Skipping this detail is the most common mistake in inside measurements.
How Do You Hold a Tape Measure Correctly?
For an accurate measurement, the tape should be held straight and taut, should not sag, and should be exactly parallel to the surface being measured. A bent or bowed tape shows the measurement longer than it is.
Over long distances the tape can sag under its own weight, which makes the reading inaccurate. You prevent this by laying the tape on the surface and keeping it taut. When reading, it is also important to bring your eye directly above the measurement line; looking from the side causes a reading error called “parallax.” For short distances, working one-handed is fine; for long distances, fixing the end of the tape and working with two people gives the most accurate result.
What Are the Types of Tape Measures?
Tape measures vary by length, blade width and type. The most common are retractable steel tapes in lengths such as 3, 5, 8 and 10 meters. There are also cloth/fiber reel tapes for long distances and laser distance meters.
| Type | Typical Length | Use |
|---|---|---|
| Pocket steel tape | 3 m | Small jobs, hobby, assembly |
| Standard steel tape | 5 m | General carpentry, construction |
| Wide-blade tape | 8-10 m | Long measurements, solo use |
| Cloth/fiber reel tape | 20-50 m | Land, garden, long distance |
| Laser distance meter | — | Fast, one-person indoor measuring |
For carpentry and assembly, the most practical is a 5-meter wide-blade steel tape; it stands out straight on its own and covers most daily jobs. The wider the blade, the farther it reaches unsupported, making it easier to measure alone.
How Do You Read Inches on a Tape Measure?
Some tape measures have an inch scale alongside centimeters. One inch is 2.54 centimeters, and an inch is divided into fractions such as 1/2, 1/4, 1/8 and 1/16.
On the inch scale, the longest lines show whole inches, the middle long line shows half an inch (1/2), the shorter lines show a quarter inch (1/4), and the shortest lines show 1/16 of an inch. Because the inch system is fractional, it is a little harder to read than the metric one. Since most work in many countries is done in the metric (cm/mm) system, reading the centimeter side is enough for daily use; the inch side is usually needed for imported sizes and some plumbing work.
How Do You Convert Between Meters, Centimeters and Millimeters?
Conversion in the metric system is very simple: 1 meter is 100 centimeters, and 1 centimeter is 10 millimeters. So 1 meter equals 1000 millimeters. To switch between these three units, you only multiply or divide by 10 and 100.
For example, when you ask how many centimeters 2.35 meters is, you multiply by 100 and get 235 centimeters. The same measurement in millimeters is 2350 millimeters. Conversely, to convert 1260 millimeters to centimeters, you divide by 10 and get 126 centimeters. Craftsmen mostly use millimeters when cutting because it is the smallest and most precise unit; when talking about large distances, meters are more practical. Keeping this conversion in mind reduces the chance of error when measuring.
How Do You Mark Correctly With a Tape Measure?
Marking correctly after taking a measurement is as important as the measurement itself. The most accurate method is to make a small “V” mark with a pencil at the measurement point; the tip of the V shows the exact measurement line and is far clearer than a straight line.
Drawing a straight line leaves it unclear exactly where the measurement point is; a “V” mark made with a sharp pencil points to a single spot. Keeping the pencil as thin as possible when marking the cut line prevents errors of a few millimeters. For precise work, carpenters use a marking knife instead of a pencil; the blade cuts a fine line into the wood and the saw sits into that line. The clearer and finer the mark, the cleaner the cut.
What Is the Difference Between a Folding Rule and a Tape Measure?
A folding rule is a ruler made of stiff segments that open and close; a tape measure is a flexible steel blade wound onto a reel. A folding rule stands up straight unsupported and stays flat, while a tape measure reaches longer distances and fits in a pocket.
Carpenters like the folding rule especially in the workshop and at the bench, because it opens with one hand, stands straight and holds without bending in inside measurements. A tape measure is more practical on site and in assembly; it reaches up to 5-10 meters, is light and fits easily in a pocket. Each has its own advantage: the folding rule for precise, short workshop work, the tape measure for long, mobile fieldwork. Most craftsmen learn to use both over time and choose one by the type of job. Still, the tool carried most and measuring fastest in daily life is the tape measure.
Should You Use a Laser Meter or a Tape Measure?
A laser meter is ideal for measuring long indoor distances in a second with one person; a tape measure is indispensable for short measurements, marking cuts and curved surfaces. The two do not replace each other but complement each other.
When measuring the length of a room or ceiling height, a laser meter is a great help; you get an instant result alone, without walking to the opposite wall. But when marking a board to cut, measuring an edge, or following a curved surface, a laser meter is useless; here a tape measure is needed. A professional usually carries both: a laser for long distances, a tape for daily cutting and assembly. Even so, every craftsman keeps a tape measure at the waist, because it is the measuring tool needed most often.
What Are the Most Common Mistakes When Reading a Tape Measure?
The most common mistakes are not adding the case length in inside measurements, not keeping the tape taut, looking at the reading from the side (parallax) and confusing centimeters with millimeters. These mistakes look small but cause big problems when cutting.
- Forgetting the case length: If you do not add the case length to your inside reading, the measurement comes out short.
- Loose tape: A sagging or bent tape shows the measurement longer than it is.
- Parallax: Looking at the reading from the side leads to reading the line in the wrong place; look straight down.
- Unit confusion: 12.6 cm and 126 mm are the same; confusing them creates calculation errors.
- Forcing the hook: Trying to fix the moving hook ruins the measurement.
Most of these mistakes are prevented by taking the measurement twice and reading it with the correct technique. The rule “measure twice, cut once” exists precisely to avoid these small errors.
How Do You Maintain a Tape Measure?
The basis of tape measure maintenance is to protect the blade from dust and moisture, let it retract in a controlled way, and protect the hook from impact. A well-kept tape measure gives accurate readings for years.
Letting the blade snap back quickly makes the hook hit the case, bend and cause measurement error; you should slow the last part by hand as it retracts. Sawdust, cement or moisture stuck on the blade both makes the numbers unreadable and damages the mechanism. Wiping the blade with a dry cloth now and then and checking whether the hook is bent is enough. A tape measure with a bent hook makes all your measurements a few millimeters wrong.
How Do You Choose the Right Tape Measure?
The right tape measure should be a suitable length for the job, have a sturdy hook, a wide blade that stands straight, and clear, easy-to-read numbers. A quality tape measure provides accurate readings for many years.
For daily carpentry and assembly work, 5 meters is an ideal length. A wide blade lets it reach far unsupported, which is a big advantage when working alone. A hook with strong rivets gives durability against drops. Large, clearly printed numbers increase reading speed. On a cheap tape, the numbers wear off quickly and the hook bends; that is why investing in a good tape from the start pays off in the long run.
How Do You Carry a Tape Measure at the Waist?
A tape measure is the tool that most needs to be within reach; that is why carrying it in a dedicated pocket or clip at the waist clearly speeds up the workflow. Walking to the bag every time you measure wastes time.
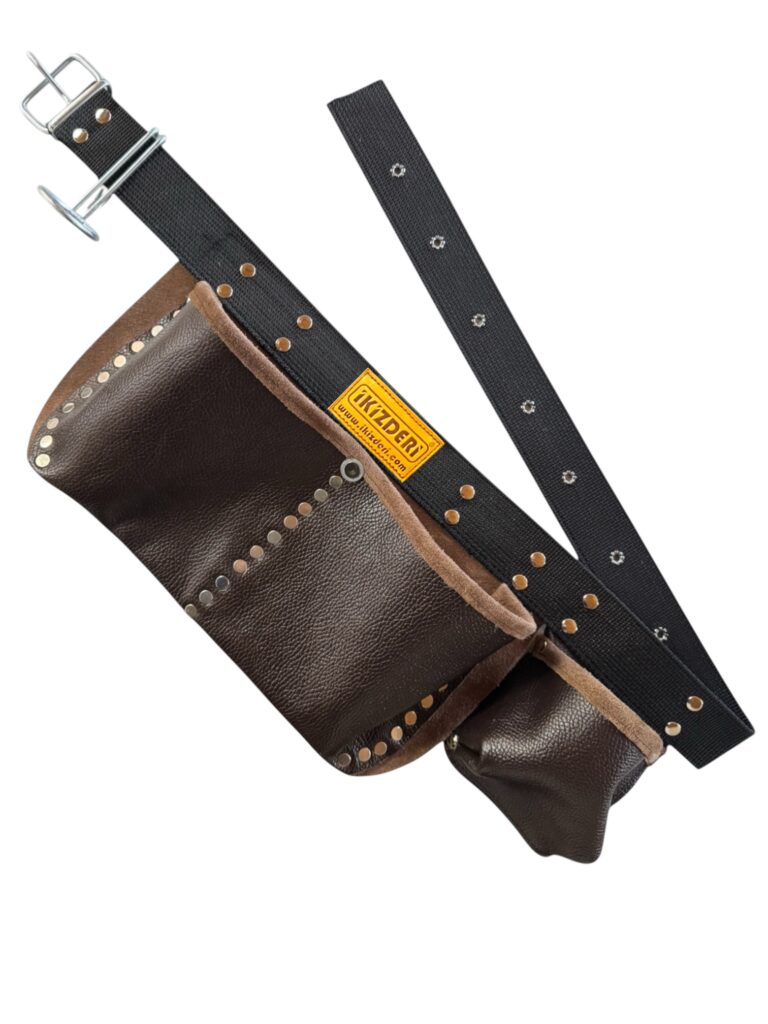
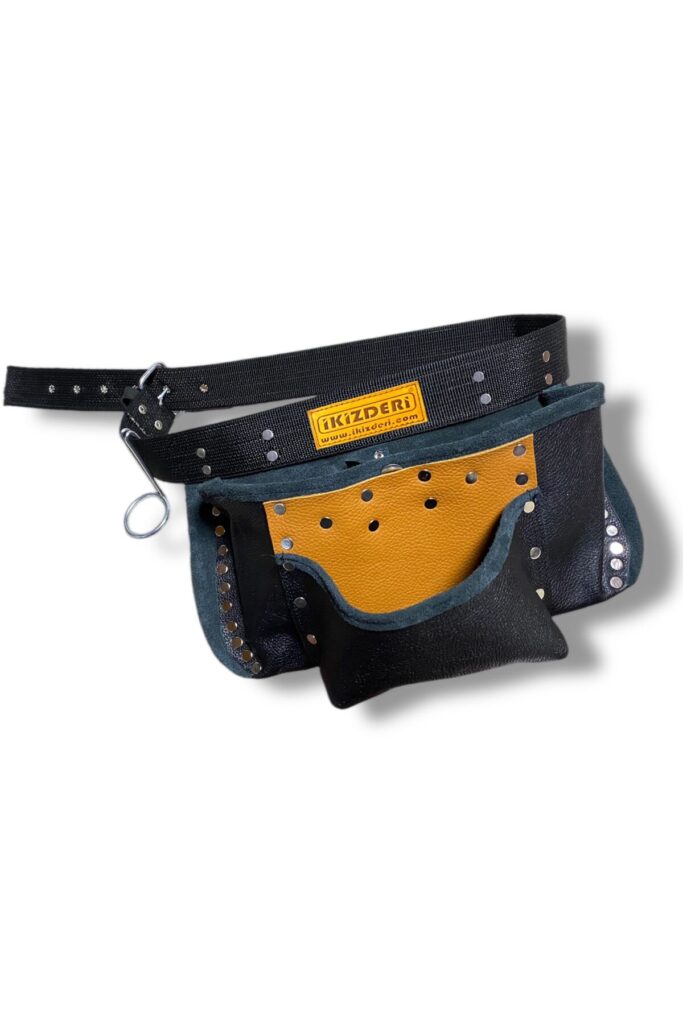
Craftsmen usually carry the tape measure in the special tape pocket of a leather apron or tool belt, so they put it back in a single move after measuring. Carrying a tape loose in a pocket both bends its hook and wastes time finding it when needed. A pocket dedicated to the measuring tool keeps it always in the same place, within reach. On carpentry, assembly and installation jobs where you measure constantly, this small detail saves serious time by the end of the day. You can find an apron with a dedicated tape pocket among our tape-measure-pocket nail apron models and keep your measuring tool always at hand.
Conclusion: Why Is Accurate Measurement the Start of Everything?
Reading a tape measure correctly starts with telling centimeters from millimeters, adding the case length in inside measurements, and holding the tape taut at a straight angle. Once you learn these simple rules, taking a measurement takes seconds and your margin of error drops almost to zero.
Accurate measurement is the first step of good work, because a wrong measurement wastes even the best material and workmanship. If you want to carry your measuring tool and hand tools organized all day, you can review the leather nail apron models and all the İkizderi leather work equipment we make entirely from genuine leather in our workshop in Gerede, Bolu.